I love fall! It is by far my favorite season. I love the smells, the colors, the change in the weather and the clothes. It is also really fun to decorate for fall. A few weeks ago
my friend and I got together to work on a few projects. A lot of laughs and a spray painted dog later here is what we had...
"Trick-or-Treat" Banner
"BOO Pumpkins"
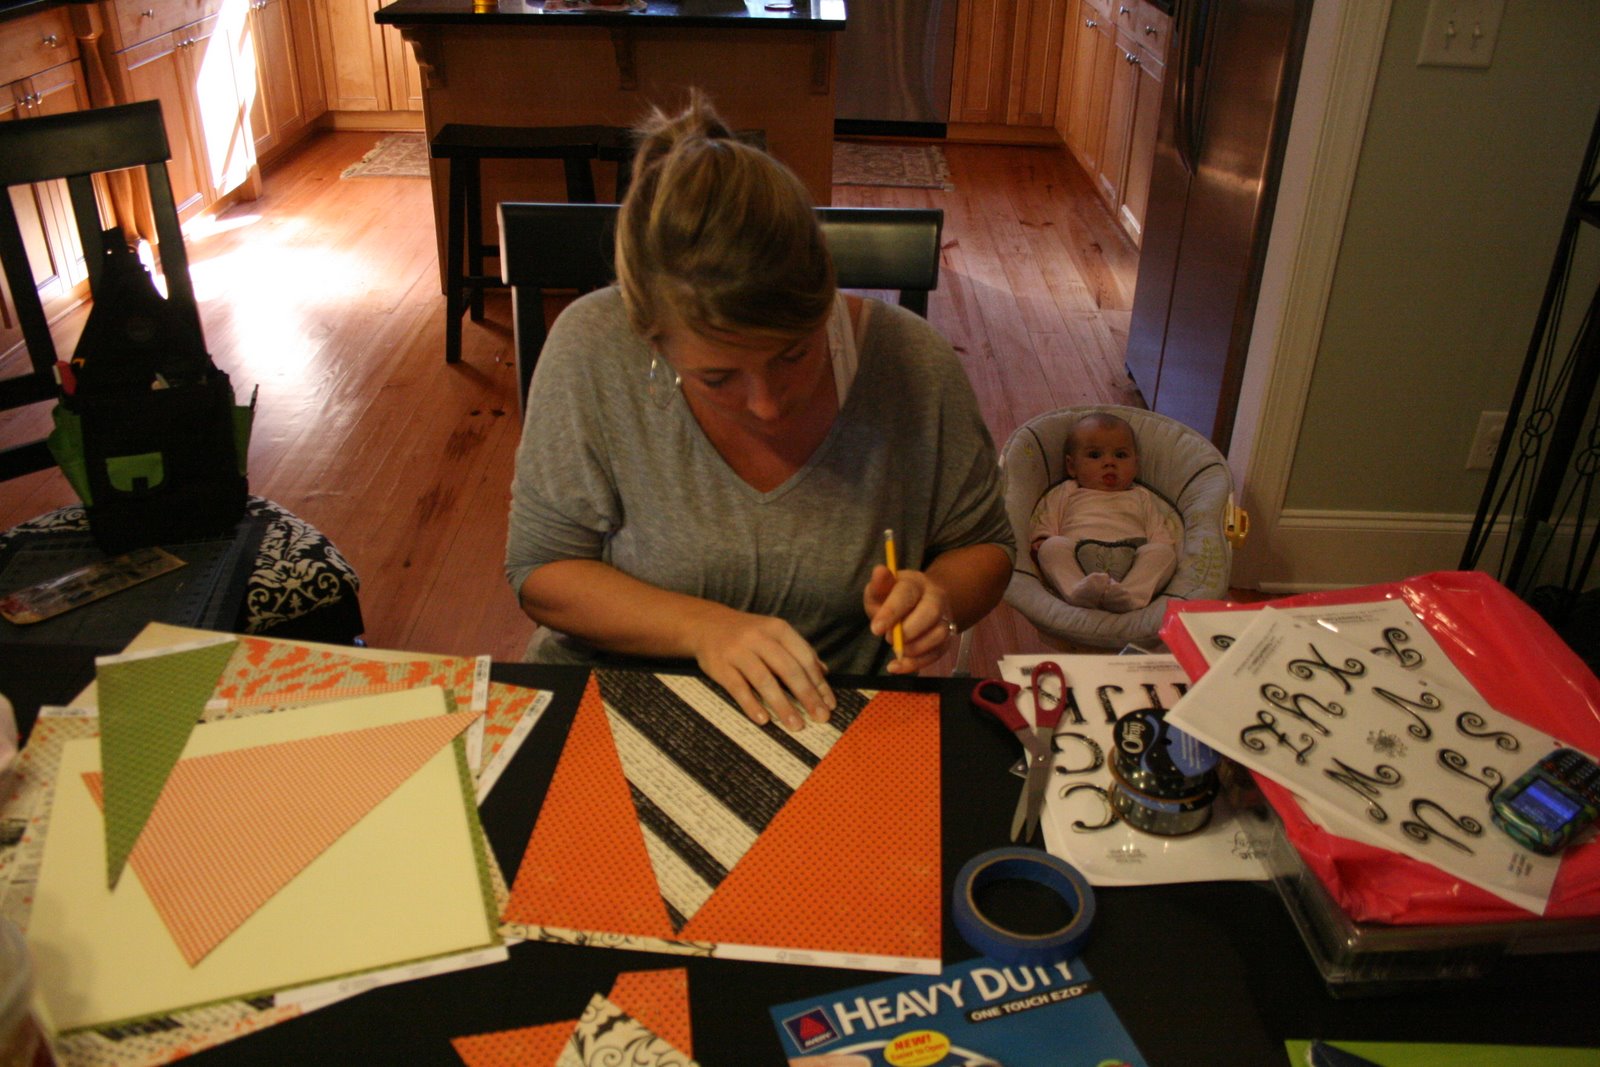
Both of these projects were fun and simple to complete. For the banner, we started with Halloween themed scrapbook paper and a "flag" template.
We then traced 11 flags and cut them out. (See my Lily in the background?)
Next, we arranged the patterns in the order that we wanted them to be in the final product. We cut circles out of card stock, stamped the letters with acrylic stamps, "cat-eyed" the edges of the circles and the flags and glued the circles to the flags. We also used Halloween stamps to add a little detail.
Finally, we cut slits on each corner of each flag and strung a ribbon through the slits. I hung mine in front of the mirror in my dining room.
The pumpkins were much less time consuming.
3 pumpkins...
plus a little chalkboard paint (applied 2 coats with a foam brush)...
and a little twine and ribbon...
provides a festive touch to the front porch. (Max loves it because he can "read" "BOO")
I have a few more unfinished Halloween project to finish tomorrow. I will be back soon to share!