I found myself with a few extra minutes today to do some more work in the toy closet.

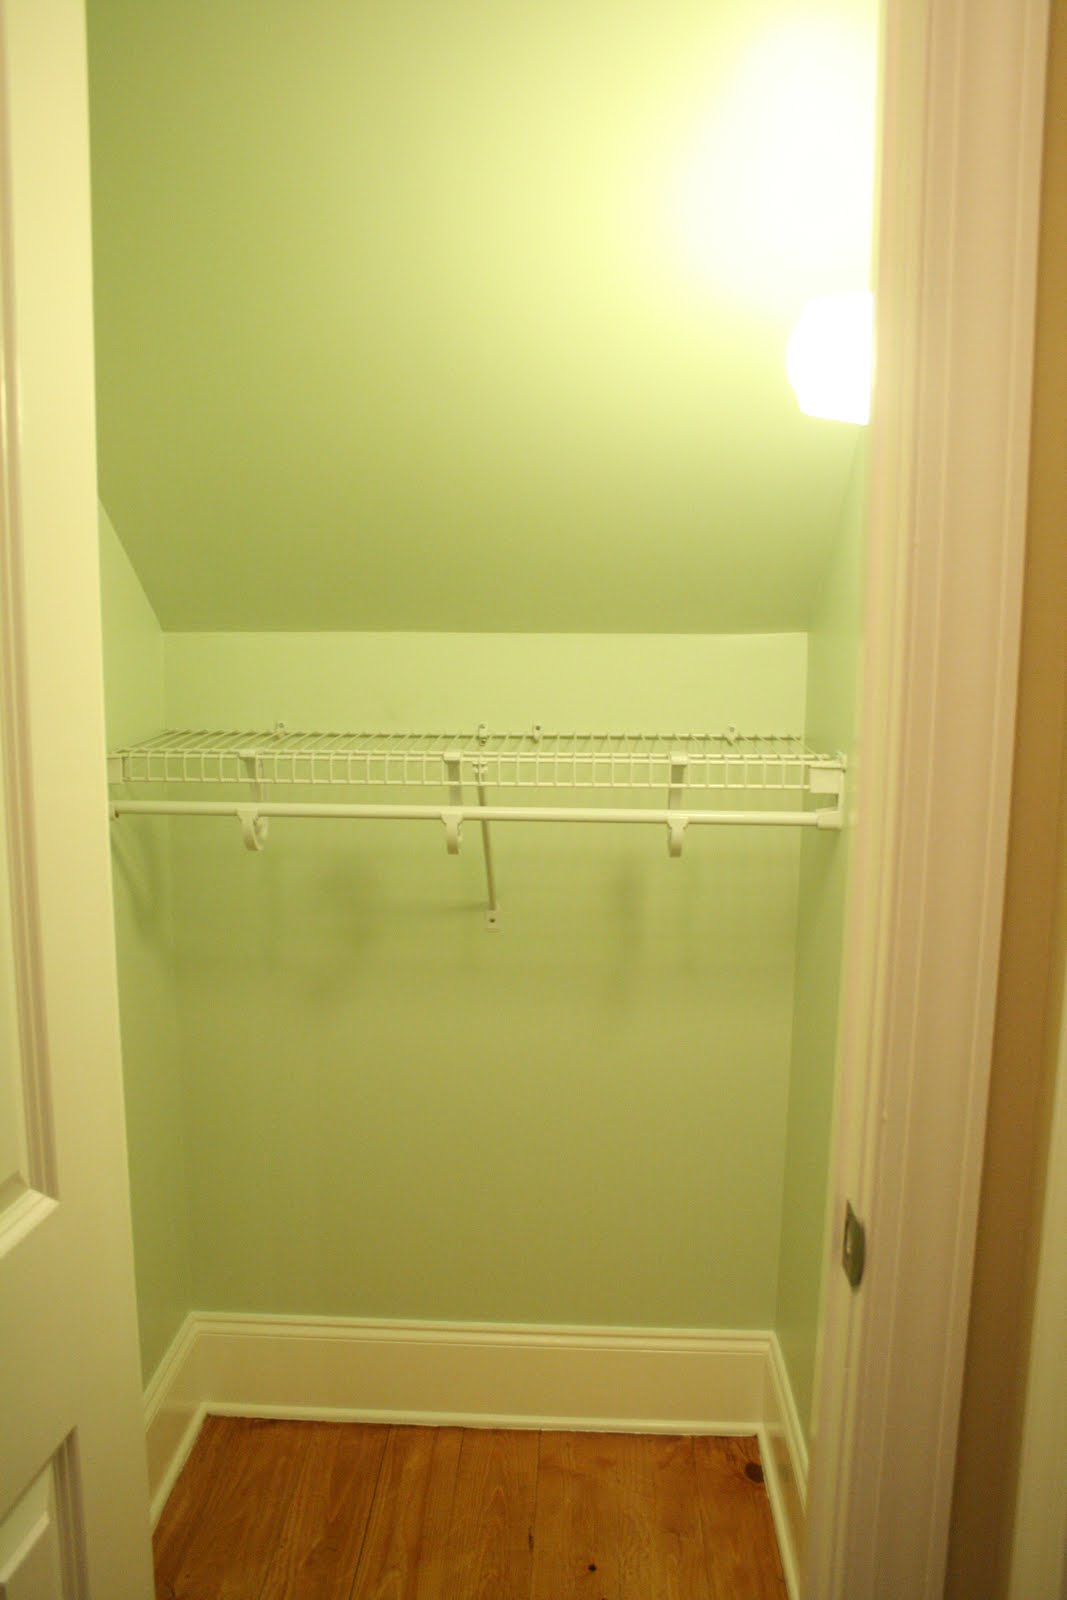
First, let's take a look at how far we have come. A year ago this is what it looked like:

Duct tape? My husband's idea of the best in organization supplies.

In an attempt to gain control of the mess I cleaned out...
And added shelves.

I have a love/hate relationship with the toy closet. I love it because it keeps the living room from looking like a preschool and gives me a place to shove everything when I'm in a hurry to pick up the house. I hate it because no matter how hard I try it always seems to end up looking like this.

I've been focusing on gaining control over Max and Lily's clothes and toys. I've been inspired to organize these spaces in both beautiful and practical ways. I'm hoping that if the organization is beautiful I will be motivated to keep it organized.

First, I cleared everything out and used wrapping paper to "wallpaper" the closet. There is not a lot to the process. I used a measuring tape to measure each cut and my cutting mat and rotary cutter to make the cuts. The job would have been much more difficult without these tools. I started out using Mod Podge to apply the paper and quickly realized that was not the way to go. After a little Google search, I decided to use spray adhesive to apply the paper to the wall. If you plan to take on this project spray adhesive is your best friend. Once all of the paper was up I used two coats of Mod Podge to protect the paper. Originally the paper did bubble, but after about 24 hours they were mostly gone. The "wallpapering" job is not perfect, but I am happy with the results.

While the paper was drying I sorted, purged and assessed the toy situation. I tried to think about where it would make the most sense to store each type of toy. Small Legos are now located in Max's room because the pieces are too small for Lily to play with and I moved the train stuff from Max's room to the toy closet because both Max and Lily can play with it. The toy closet is actually the closet that is formed from the space under the stairs and is in the little hallway that connects the living room to Lily's room. Since her room is so close to the main living area most of her toys (baby/girlie) are now stored in her room. I decided that the best use of the closet would be for shared toys and arts and craft supplies. I once tied magic markers to the ceiling fan and turned it on...I don't want my children to recreate this scene. Also stored in the closet are Duplo Legos, Lincoln Logs, Mr. Potato Head, cars and games. We also sent a bag of toys to Goodwill.

Today I used my extra few minutes to paint the faces of the shelves with chalkboard paint. I haven't written on them yet because I have to wait 24 hours for it to cure. I actually like the look of the shelves before they were painted, but I'm hoping to avoid Marcos' duct tape treatment.

Other than that, I used what I had and bought a few storage containers from Target.

What methods do you use to keep your difficult spaces organized?
I'm linking up!


SO amazing! I hope that you find this will really motivate you now! <3 I would be!
ReplyDeleteI hope you plan to link up for the Project Pretty link party on Friday, this project is fab!
xoxo,
Jen
Thank you, Jen! I will plan to link up to Friday's party!
ReplyDeleteLove, love, love it! Your closet looks amazing!
ReplyDeleteWow! You are so lucky to have an entire closet devoted to toy storage! This is great! Very well done. I love that you used gift wrap to line the walls with spray adhesive. Do you know if it will come off nicely? I'd love to line my walls, but I rent, so I am limited with what I can do.
ReplyDelete~ Ferly
Gifts We Use {to grow, love and serve}
GiftsWeUse.blogspot.com